
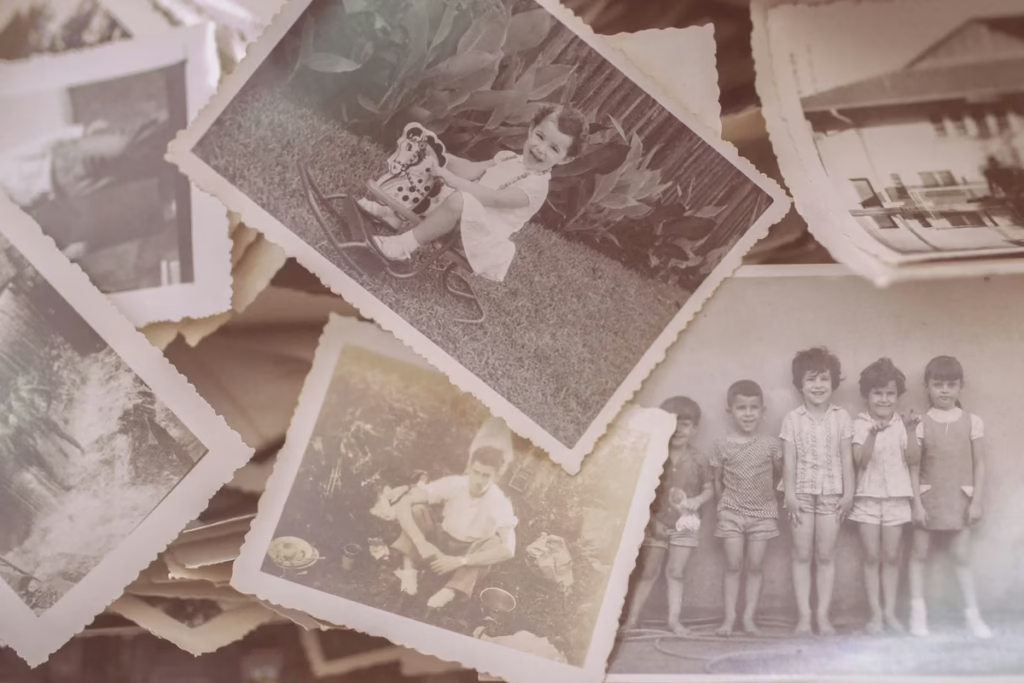
Every family has the box. It usually lives on a closet shelf or under a bed, and it holds a few hundred photographs that nobody has looked at properly in years. Half the faces are strangers now.
The longer the box waits, the more of them become strangers for good. The good news is that it doesn’t take special skills to rescue it, just a plan and a few quiet evenings.
Step one: sort before you do anything else
Clear a big table and sort into rough piles first. Don’t try to label or scan yet.
- By family branch if you can tell: your father’s side, your mother’s side, in-laws.
- By decade within each branch. Clothing, cars, photo borders and paper types are good clues. Scalloped edges and square snapshots point to particular eras; color prints with rounded corners to others.
- A pile of unknowns. Every collection has one. Keep it separate and come back to it with relatives.
Pull out duplicates, blurry shots and scenic pictures of places nobody can identify. Those can go to the giveaway pile later.
Step two: label while people still remember
This is the step that matters most and the one most people skip.
- Write on the back, near the edge, with a soft graphite pencil or a pen made for photographs. Press lightly.
- Never use ballpoint, which can dent the image and bleed through, and never use sticky labels or tape, which yellow and lift over time.
- Record names, roughly when, where, and the occasion if you know it. “Aunt Ruth and Uncle Ed, front porch on Elm Street, about 1952” is perfect.
- Take the unknowns pile to the oldest relatives you have. Show a few at a time. Faces jog memory, and one recognized face usually unlocks the people standing next to it.
Step three: store them safely
The enemies of old photographs are heat, damp, light and acid.
- Use archival boxes, envelopes or sleeves labeled acid-free and, ideally, tested for photographs.
- Keep them somewhere cool, dry and dark, inside the main part of the house. Attics, basements and garages are the worst places, however convenient.
- Get photos out of old magnetic albums with sticky pages. Those pages damage prints over time. If a photo won’t lift easily, leave it rather than tear it, and scan it in place.
- Store prints upright or flat, never crammed.
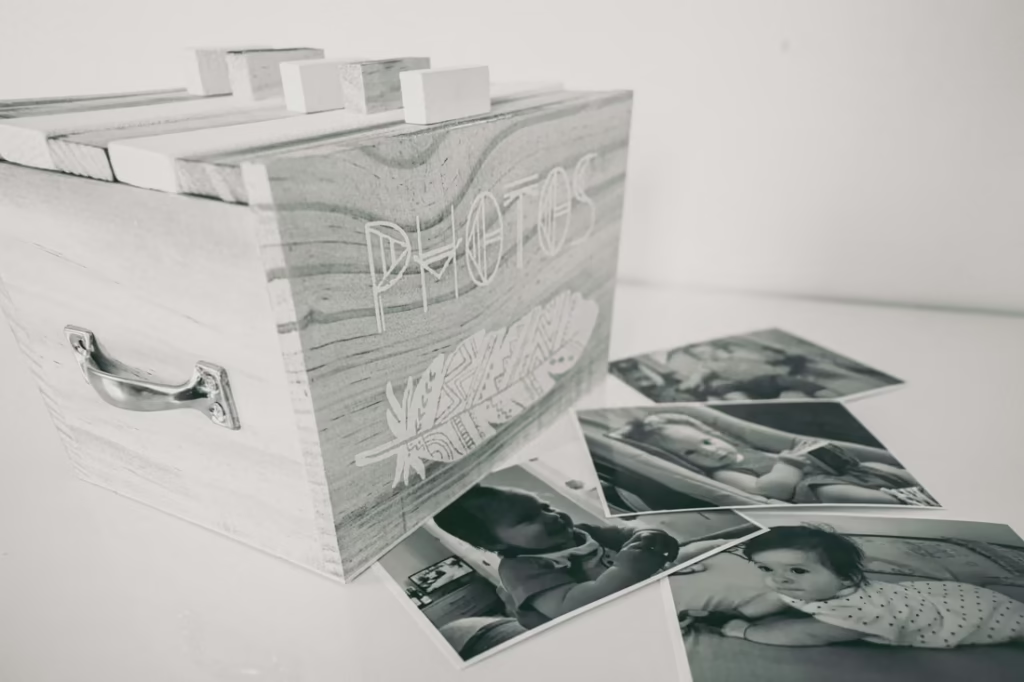
Step four: scan the ones that matter
A good flatbed scanner and a few evenings will do more than any service for a modest collection. Scan prints at 600 dots per inch or more, and higher for small snapshots you may want to enlarge.
Name each file with the same information you wrote on the back, so the label travels with the image. Keep one copy on your computer and another somewhere else, such as an external drive kept at a relative’s house or a cloud account.
Step five: share copies, not originals
Digital copies mean everyone can have the photos without anyone having to give them up. Send a folder to siblings and cousins, make a printed book for a reunion, or put together a small set for each grandchild. Keep the originals together in one safe place, with a note saying who should have them next.
What to do with photos no one wants
Some photos will be of people nobody can name or of places with no family connection. Before you throw them away, offer local street scenes, storefronts, schools and events to the county historical society or library.
Pictures of a town’s main street in 1950 can be treasures to them even when the people in them are lost. What is left after that can be let go without guilt. You’ll have saved what could be saved, and that’s the whole job.